How to import your planner into GoodNotes
Your planner is a hyperlinked PDF, so it opens in GoodNotes like any other document. This walkthrough takes you from the download to tapping your first tab in about two minutes.
You'll need
- An iPad with GoodNotes 5 or 6
- Your planner in the iPad portrait or landscape format
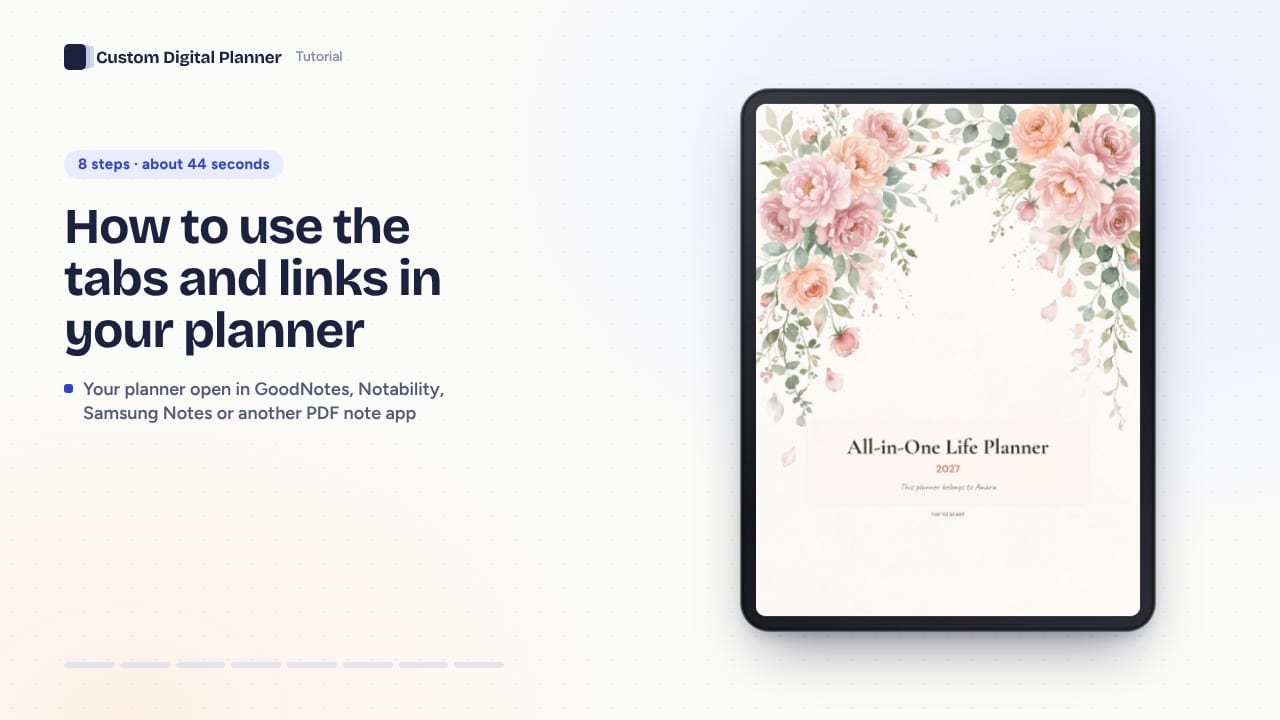
44-second video with captions, no sound. Filmed on the real site and real planner pages.
Step by step
- 1
Download your planner
Open your dashboard on the iPad and tap Download PDF. If you're on a computer, download it there and send it to the iPad with AirDrop or iCloud Drive.
- 2
Find it in Files
Safari saves downloads to the Downloads folder in the Files app. Open Files and find the PDF there.
- 3
Share it to GoodNotes
Press and hold the PDF, tap Share, then choose GoodNotes from the list of apps.
- 4
Import as a new document
When GoodNotes asks, import it as a new document rather than into an existing notebook. A planner with daily pages takes a moment, so let it finish.
- 5
Name it and file it
Give the document a clear name and move it into its own folder, so it's easy to find each morning.
- 6
Tap tabs in read-only mode
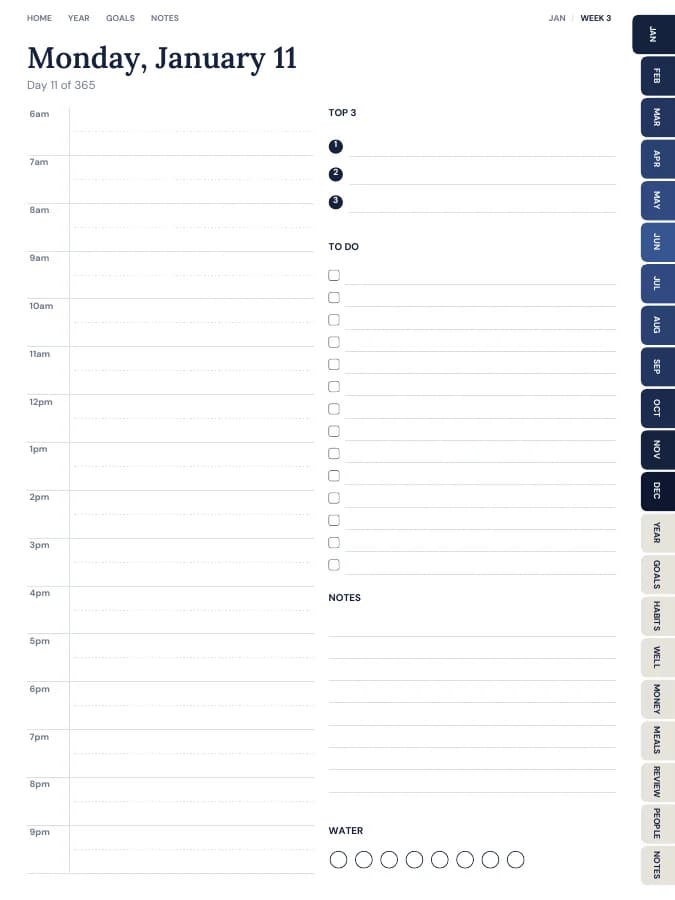
Every tab, date and contents entry is a link. Turn on read-only mode, or tap with a finger if only the Apple Pencil draws, and tap a tab to jump.
- 7
Switch back to write
On the page you want, turn read-only off and write with your pen as usual.
- 8
Keep a backup
Turn on iCloud sync in GoodNotes. Your original PDF stays in your dashboard, so you can download it again any time.
On GoodNotes Free?
The free plan limits how large an imported file can be. If your planner is too big, make a lighter version with weekly pages only, or turn daily pages off in the builder.
Planners to try it with

All-in-One Life Planner
Your whole year — goals, habits, money and meals — in one tabbed planner.
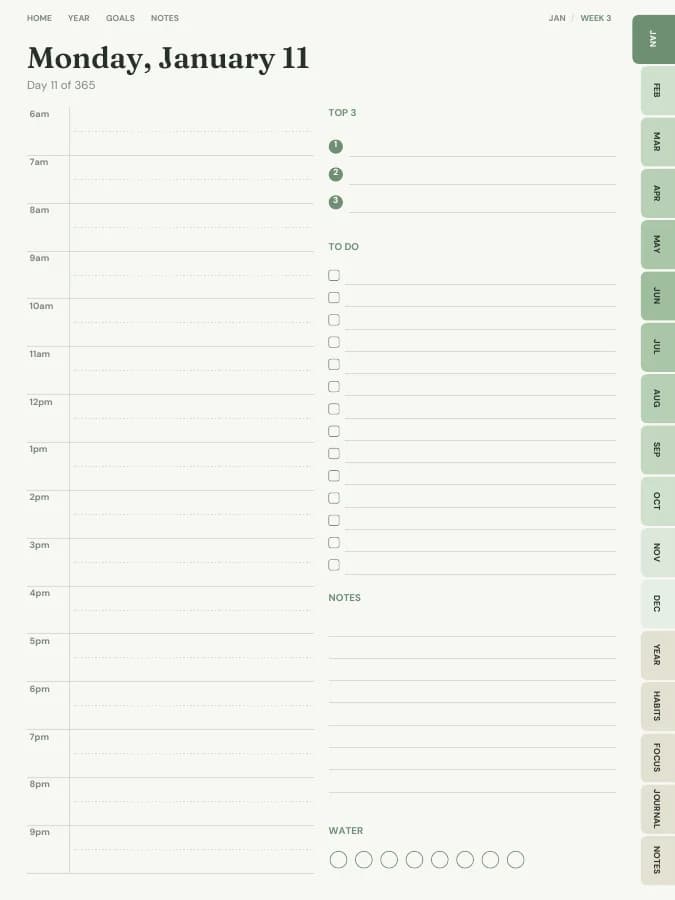
Daily Planner
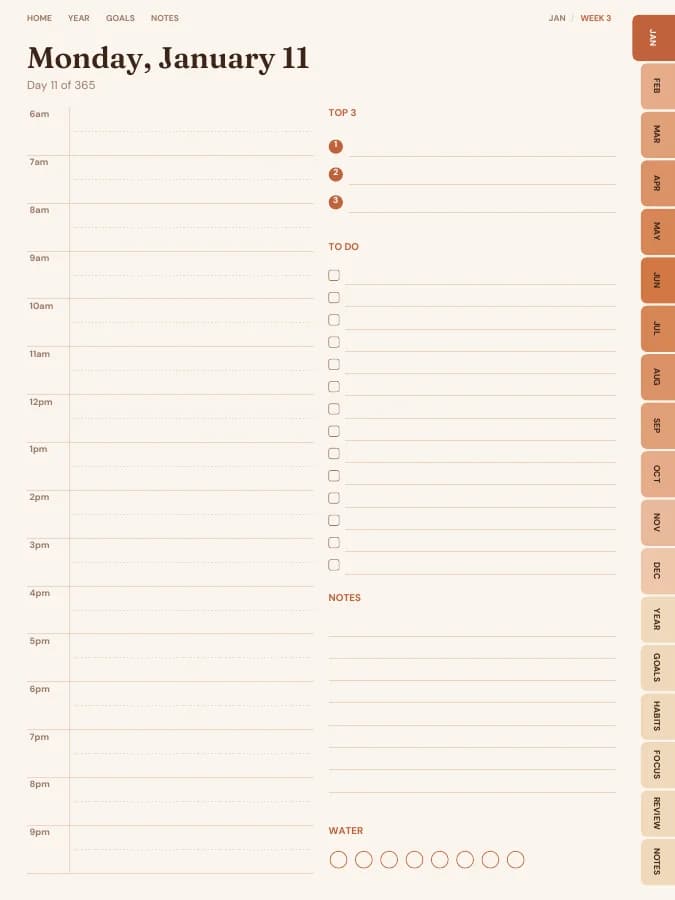
A dated page for every single day, with schedule, priorities and to-dos.
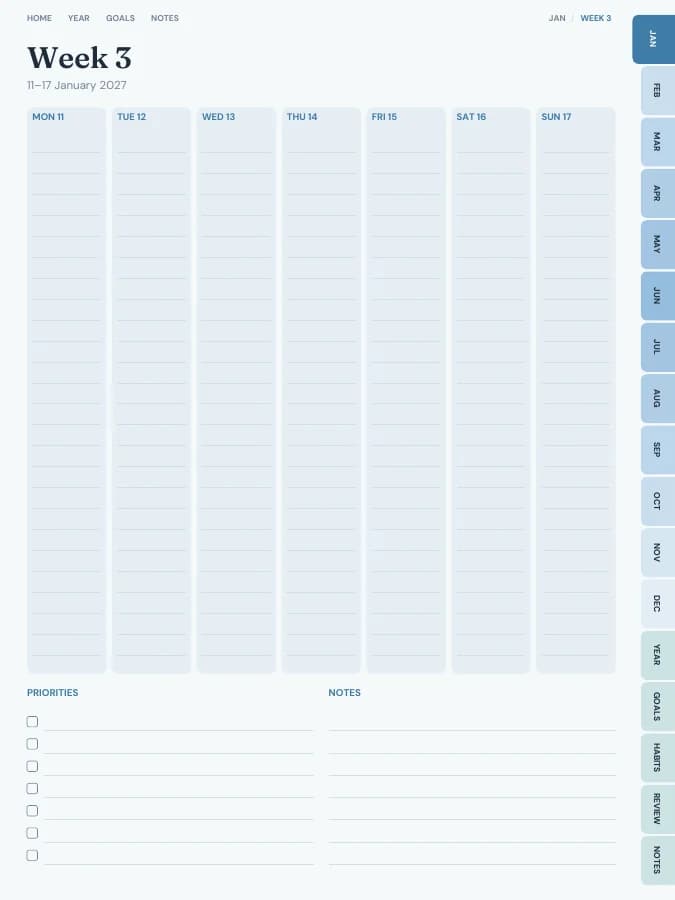
Weekly Planner
See your whole week at a glance — lighter than a daily planner.
Goal Planner
Type your goals. Get a planner with every milestone already on the right page.