How to add your own photo to your planner
A photo of your family, your pet or your favourite place makes the planner feel like yours. You can use one on the cover and another on an About Me page.
You'll need
- A JPG, PNG or WebP photo up to 10 MB
34-second video with captions, no sound. Filmed on the real site and real planner pages.
Step by step
- 1
Open the Look step
In the builder, go to the Look step and scroll to Cover art.
- 2
Upload a photo
Choose the Upload a photo tile and pick a JPG, PNG or WebP image up to 10 MB.
- 3
See it on the cover
Your photo fills the cover with your title on top. Pick it again any time, or switch back to illustrated cover art.
- 4
Add an About Me page
In the Personalise step, switch on the About Me page.
- 5
Choose a passport photo
Tap Choose a photo. It's printed in the passport-style frame on that page.
- 6
Check the real pages
Preview the planner to see the photo cover and the About Me page exactly as they'll download.
Planners to try it with
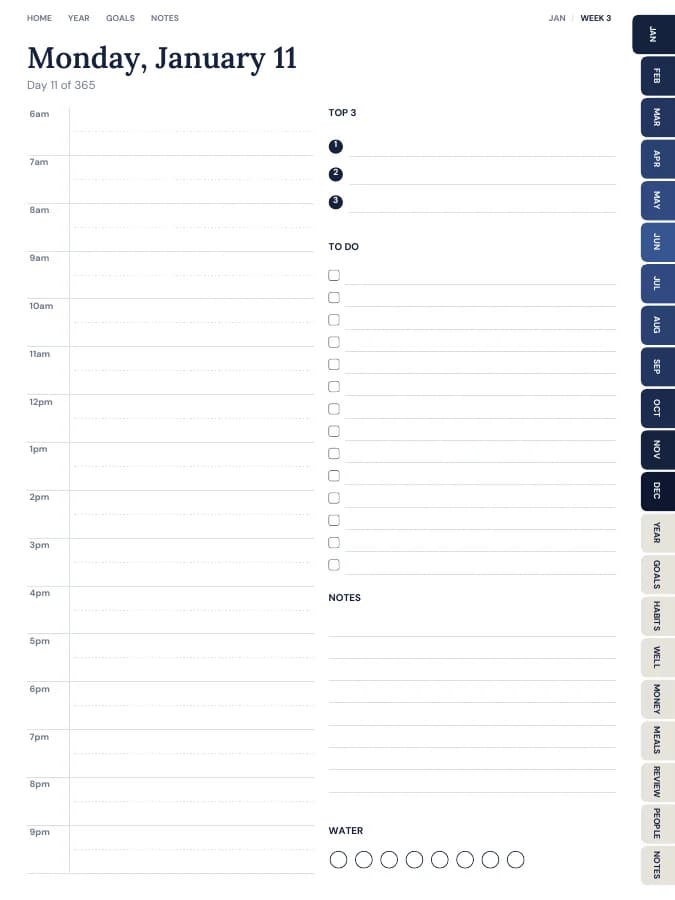
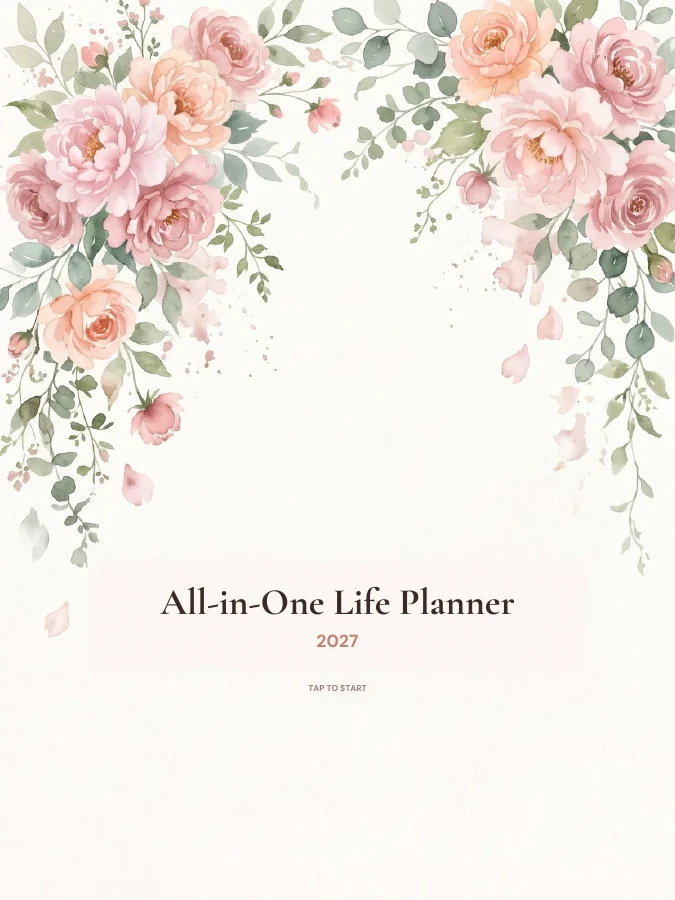
All-in-One Life Planner
Your whole year — goals, habits, money and meals — in one tabbed planner.
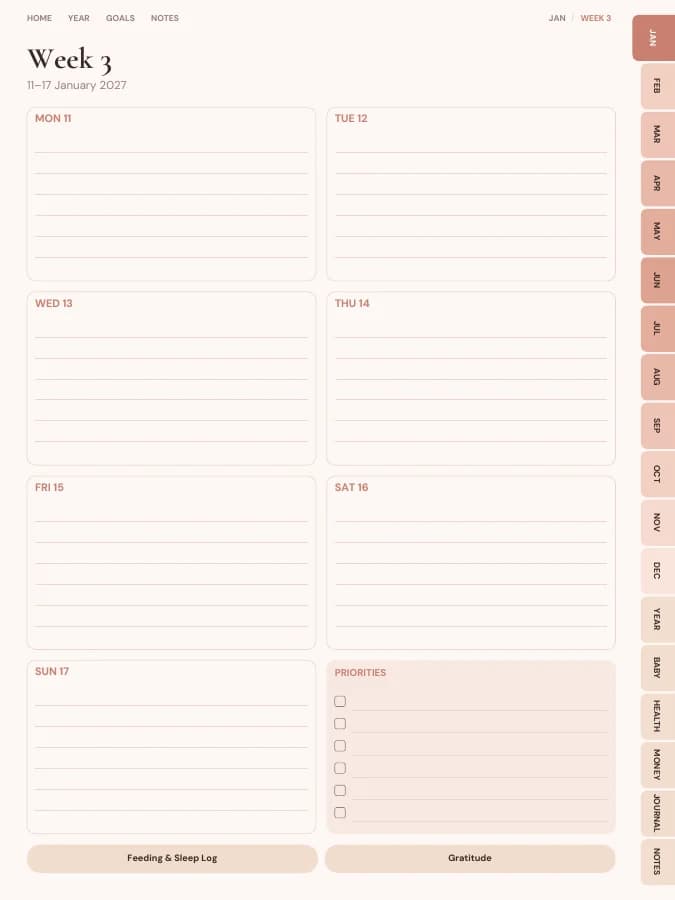
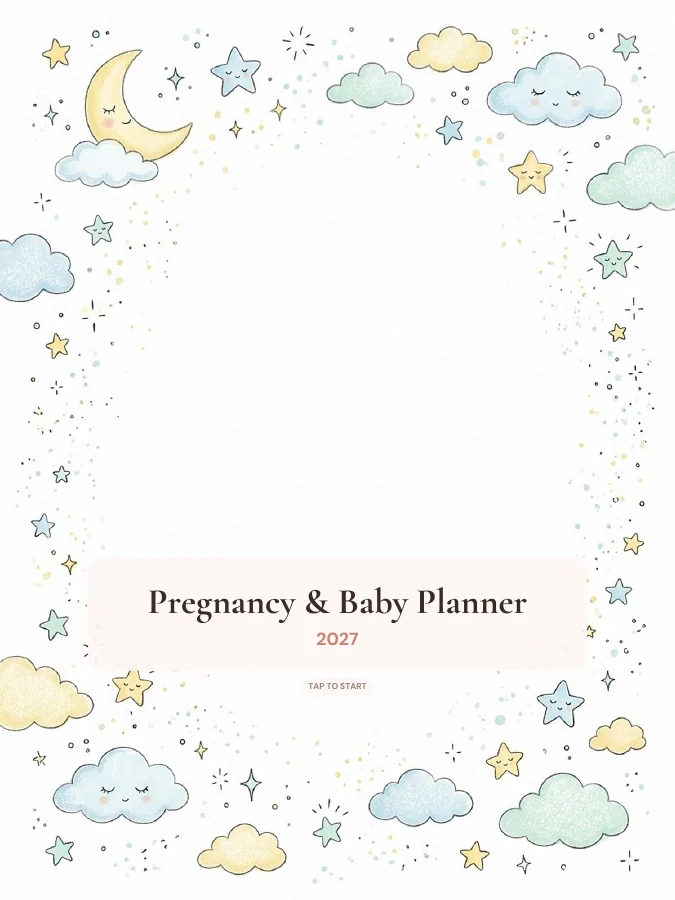
Pregnancy & Baby Planner
Appointments, bump journal, hospital bag and baby logs.
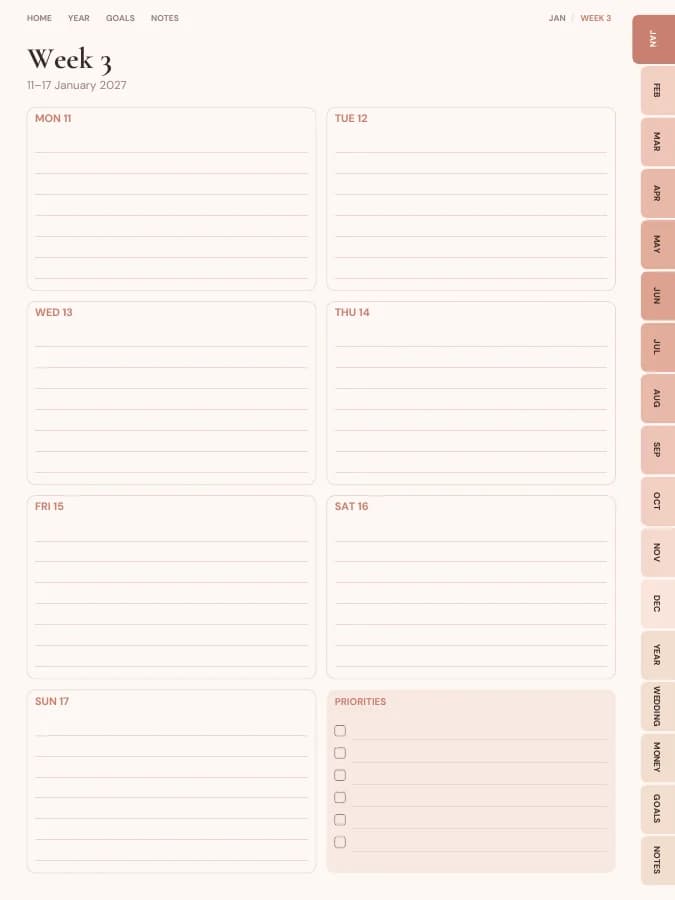
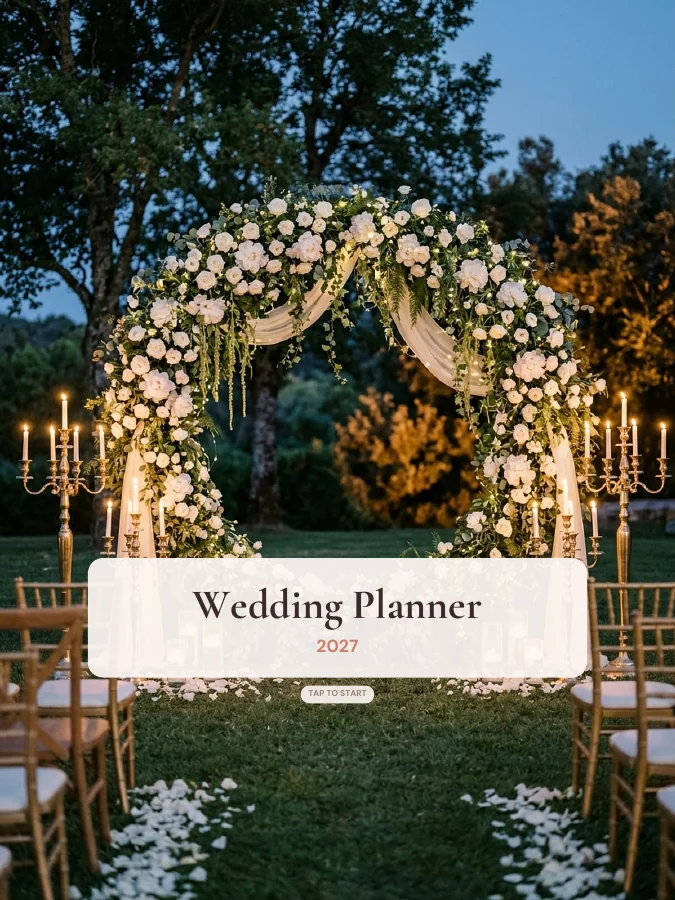
Wedding Planner
Checklist, budget, guest list, vendors and day-of timeline.
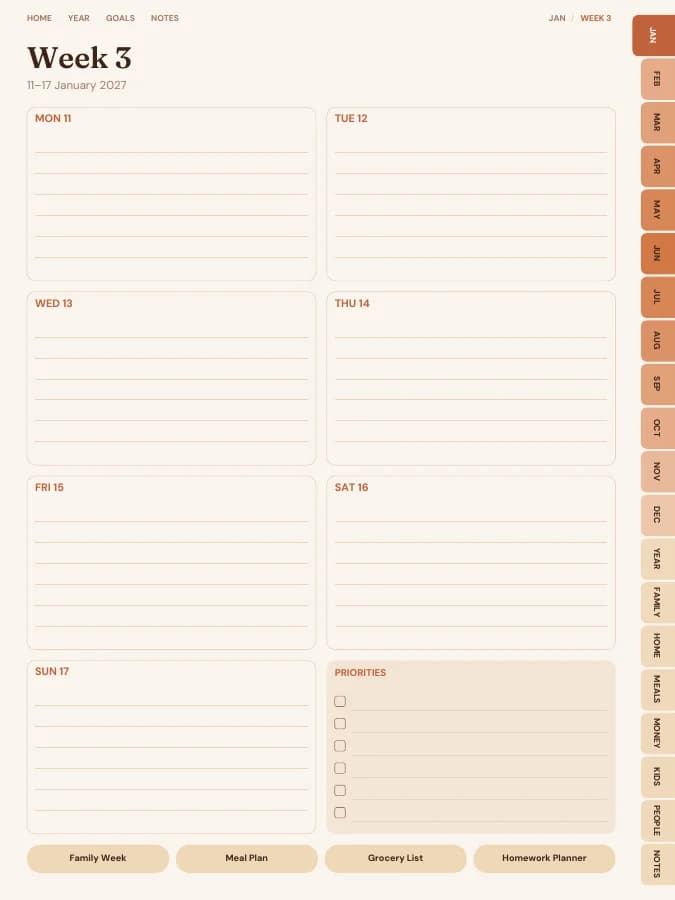
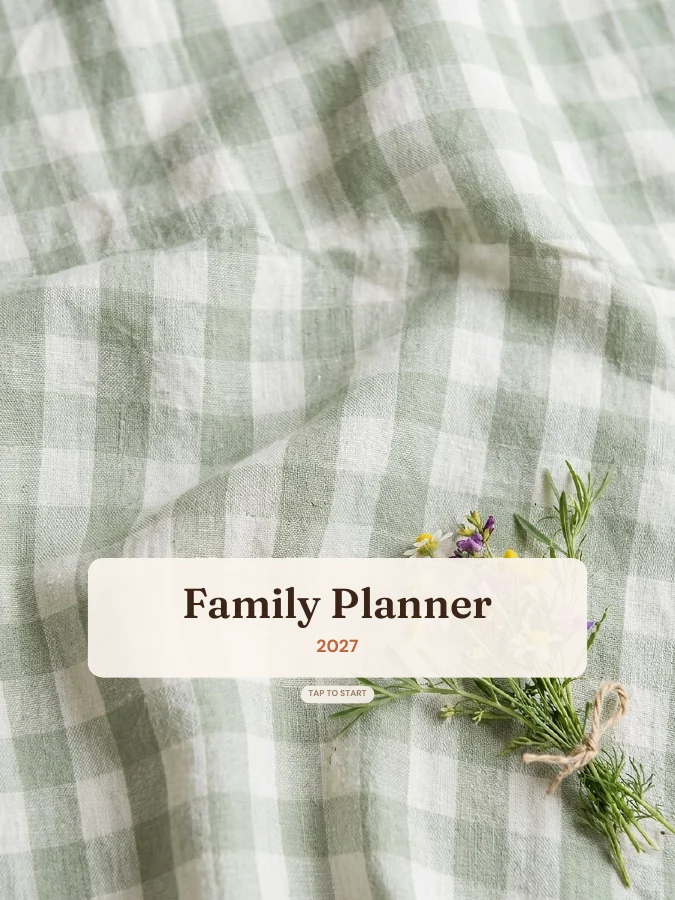
Family Planner
Everyone's week on one page, plus meals, chores and money.