How to print your planner at home (and print inserts)
Every planner can be made in printable sizes with a wider inner margin for hole punches or binding. The free templates are single pages you can print as inserts.
You'll need
- A printer, or a print shop
- Hole punch, rings or a binder (optional)
39-second video with captions, no sound. Filmed on the real site and real planner pages.
Step by step
- 1
Pick a printable size
In the builder's Device step, choose A5, A4, Letter, Half Letter or Pocket under Printable.
- 2
Download the PDF
Download as usual. The links still work if you also open the PDF on a screen.
- 3
Print at 100%
In your print dialog, choose actual size or 100% scale, so the pages and margins come out the right size.
- 4
Print only what you need
Use the page range to print a month or a section at a time instead of the whole planner.
- 5
Punch or bind
The inner margin is wider on printable sizes, so you can hole-punch for rings or take the pages to a print shop to bind.
- 6
Get free inserts
Open a free template, like the habit tracker, and download the Letter or A4 PDF.
- 7
Print and add them in
Print the insert and add it to your binder or planner wherever you need it.
Planners to try it with
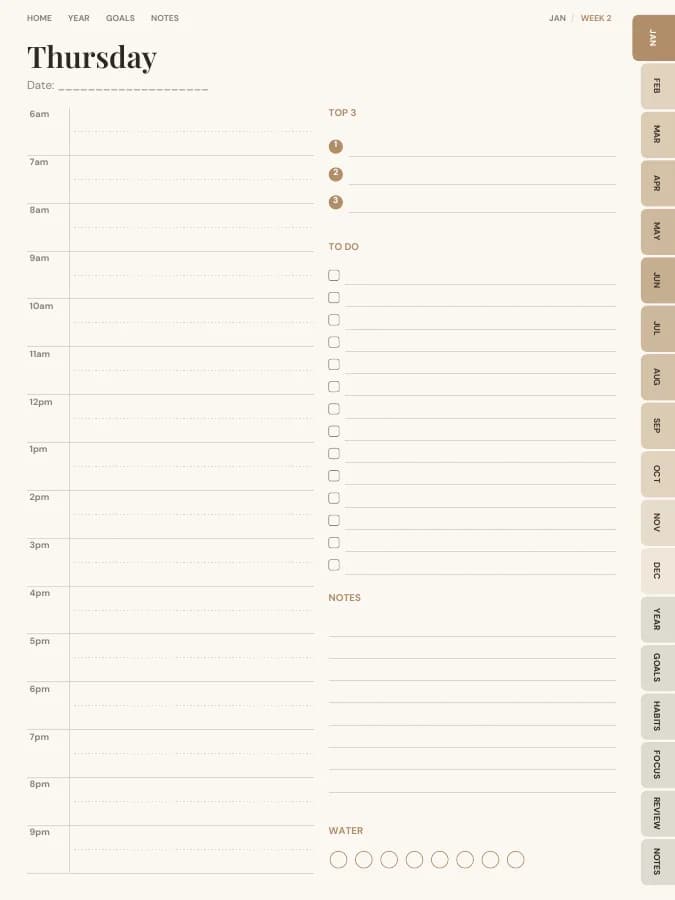
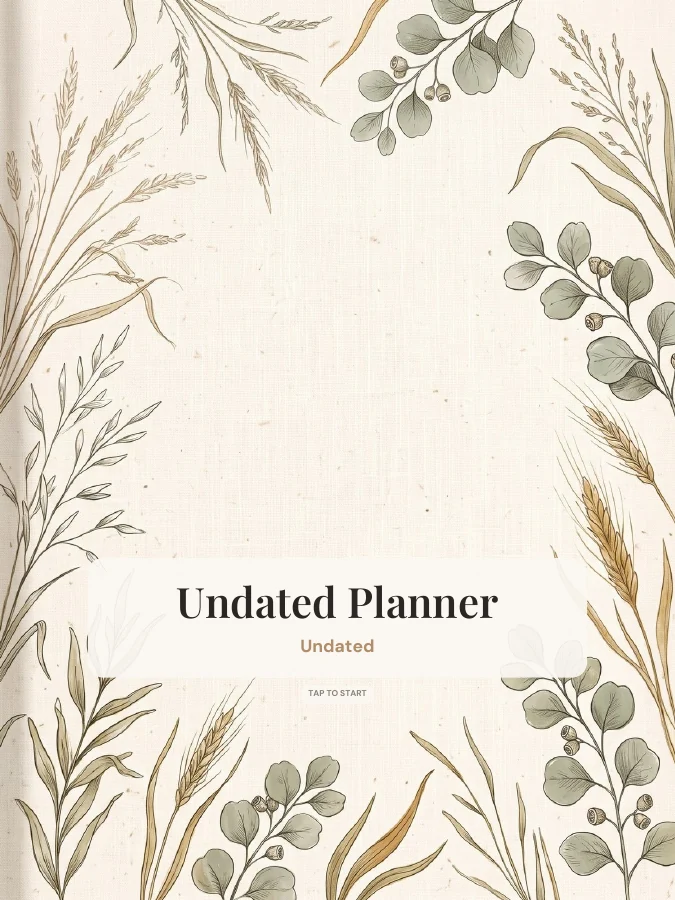
Undated Planner
Start any day, skip any day — nothing goes to waste.
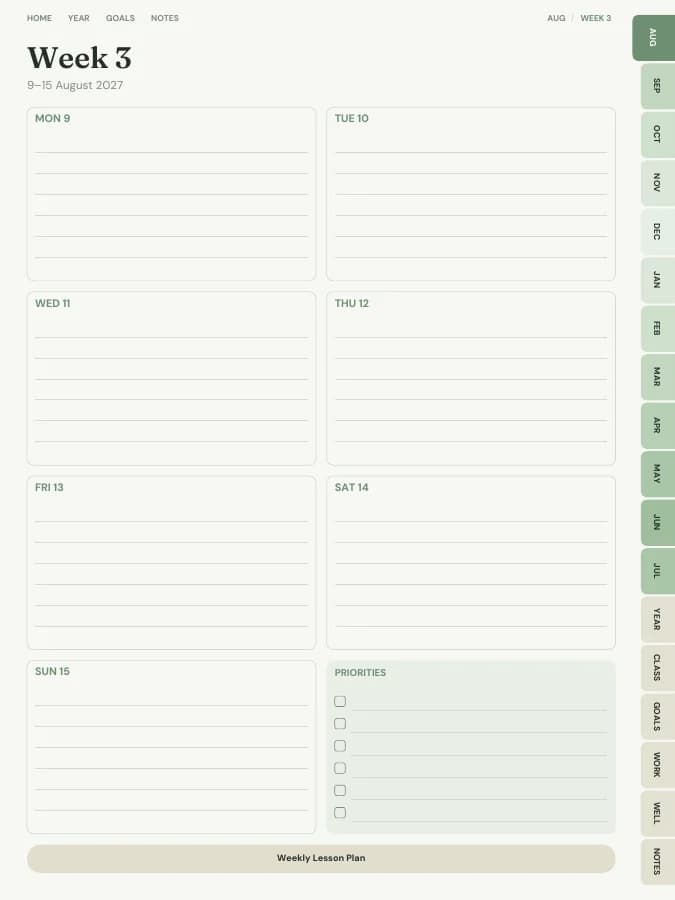
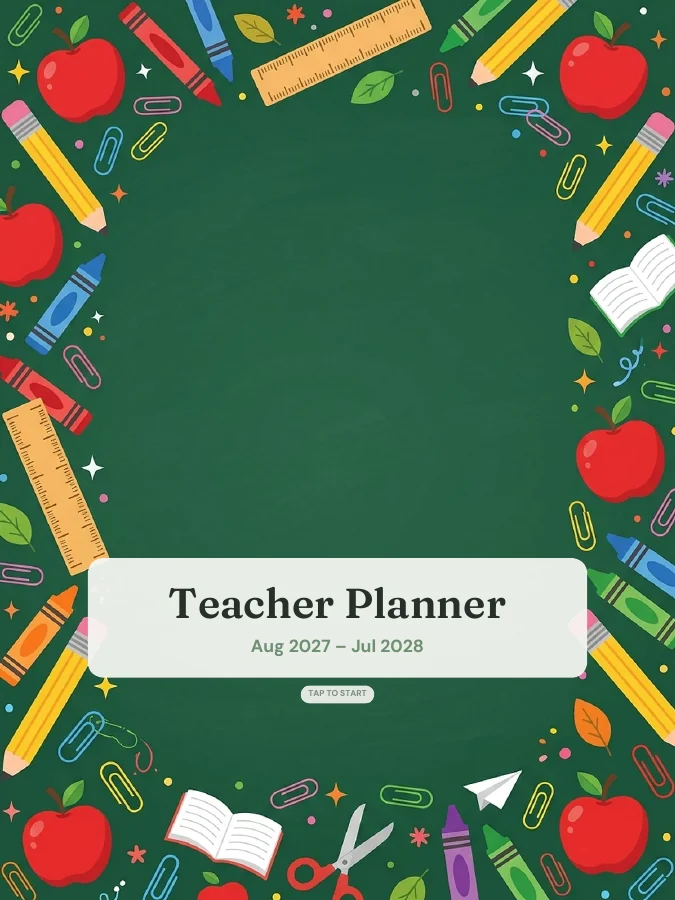
Teacher Planner
Lesson plans, attendance, gradebook and parent log in one linked planner.
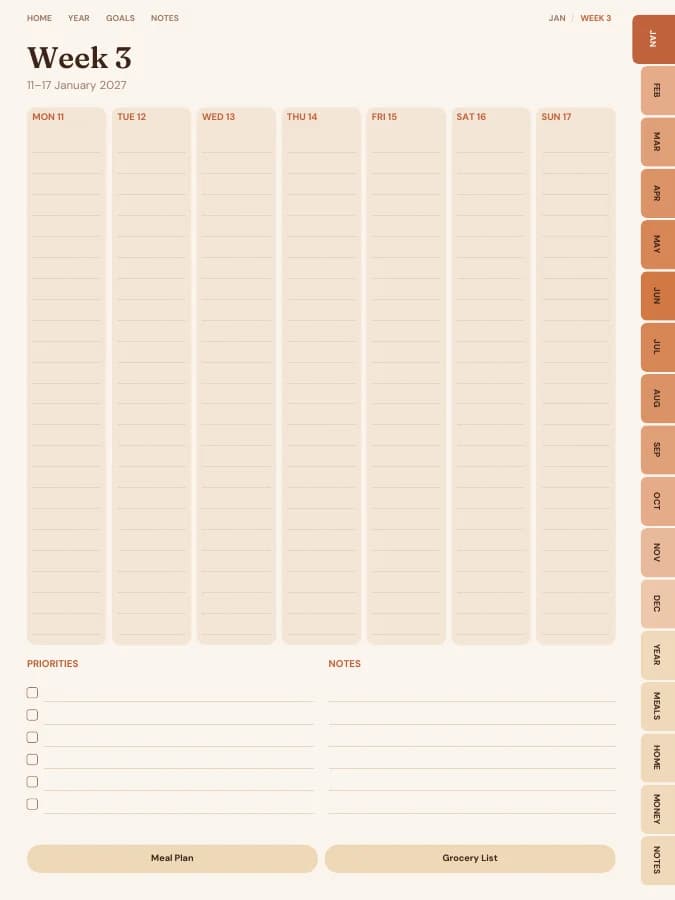
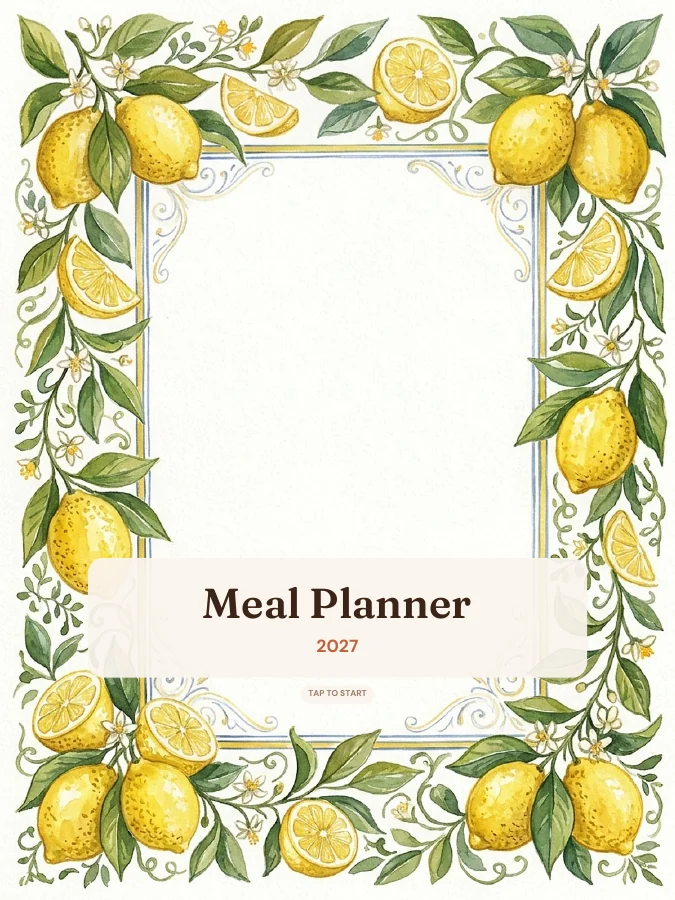
Meal Planner
Weekly meal plans, grocery lists and recipe cards that save money.
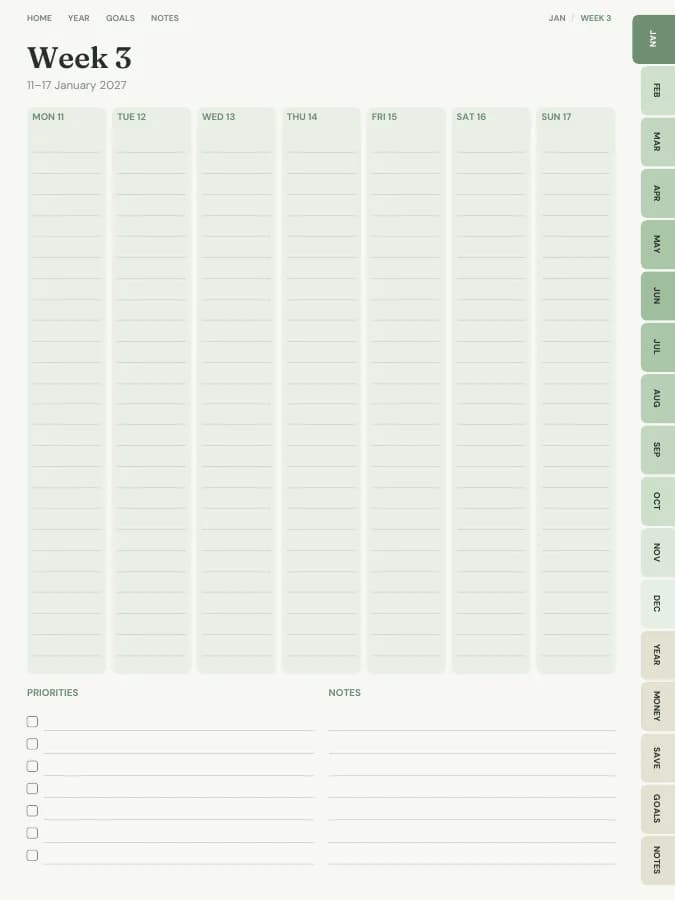
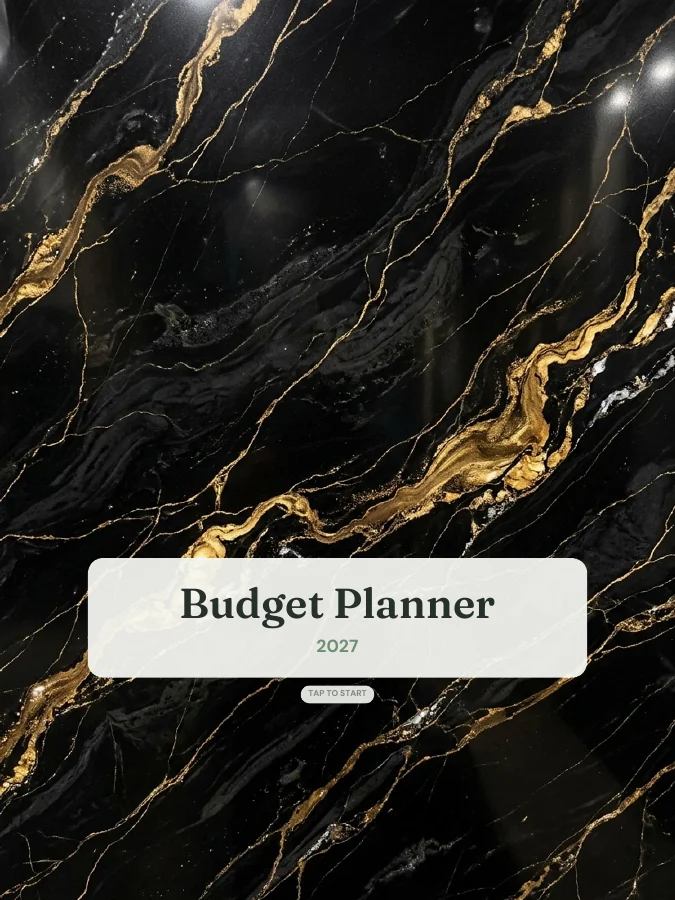
Budget Planner
Monthly budgets, bills, savings and debt payoff — in your own categories.